


Learn how to bring your analog film into the digital age by transforming your DSLR into a high-resolution film scanner.
Why Use a DSLR to Digitize Negatives in 2025?
This section unpacks why a DSLR has become the tool of choice for film scanning in 2025.
DSLRs now feature sensors with incredible detail retention, dynamic range, and color depth that rival or surpass traditional scanners. That means sharper grain, richer tones, and quicker results.
- Speed: Capture an entire roll much faster than scanner passes.
- Resolution: Benefits from high megapixel sensors of 2025.
- Creative control: Adjust exposure, depth of field, and framing instantly.
- Flexibility: Works with both color and black-and-white film.
I still remember comparing my first DSLR digitization next to a flatbed scan from years ago. The flatbed looked muddy in shadows, but the DSLR version revealed detail I didn’t know was there.

Essential Equipment for DSLR Negative Digitizing
This section covers the gear you’ll need for a clean, reliable setup at home.
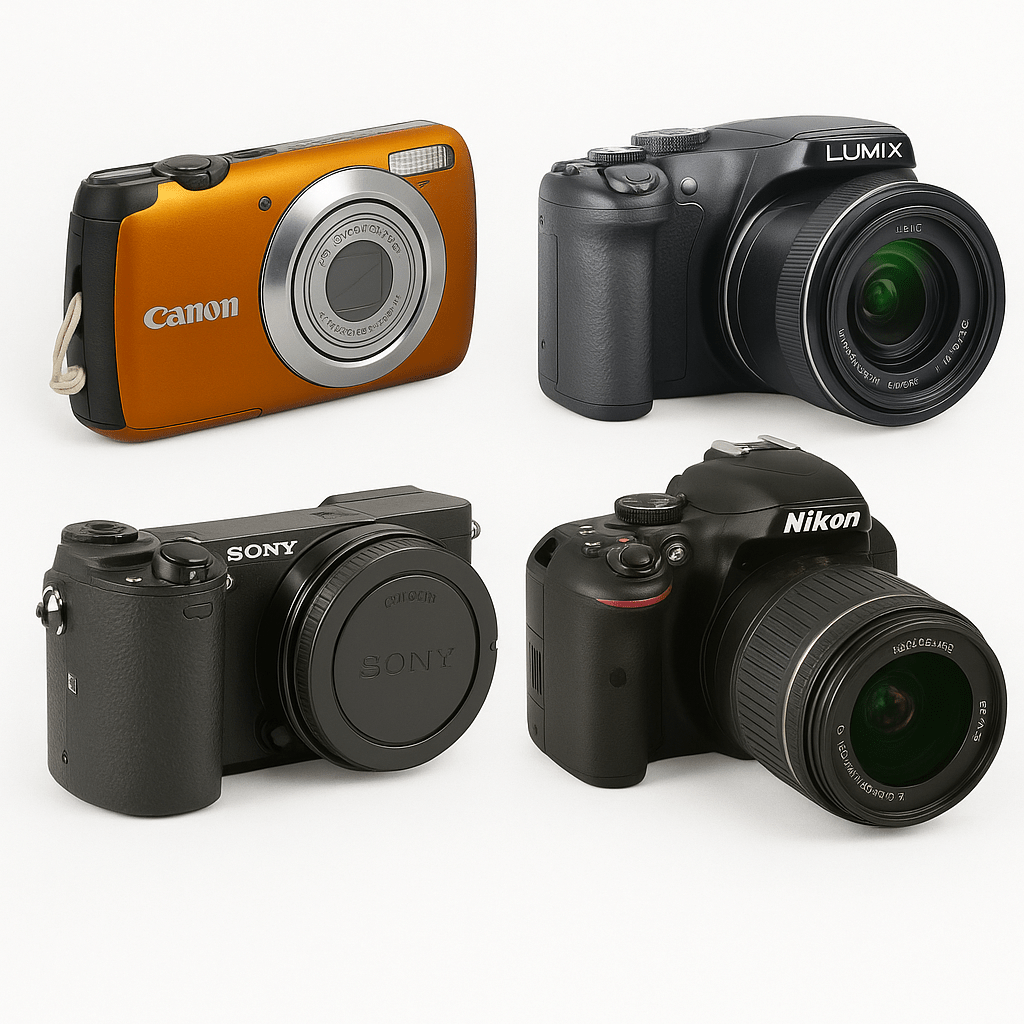
- ✅ DSLR with manual mode control
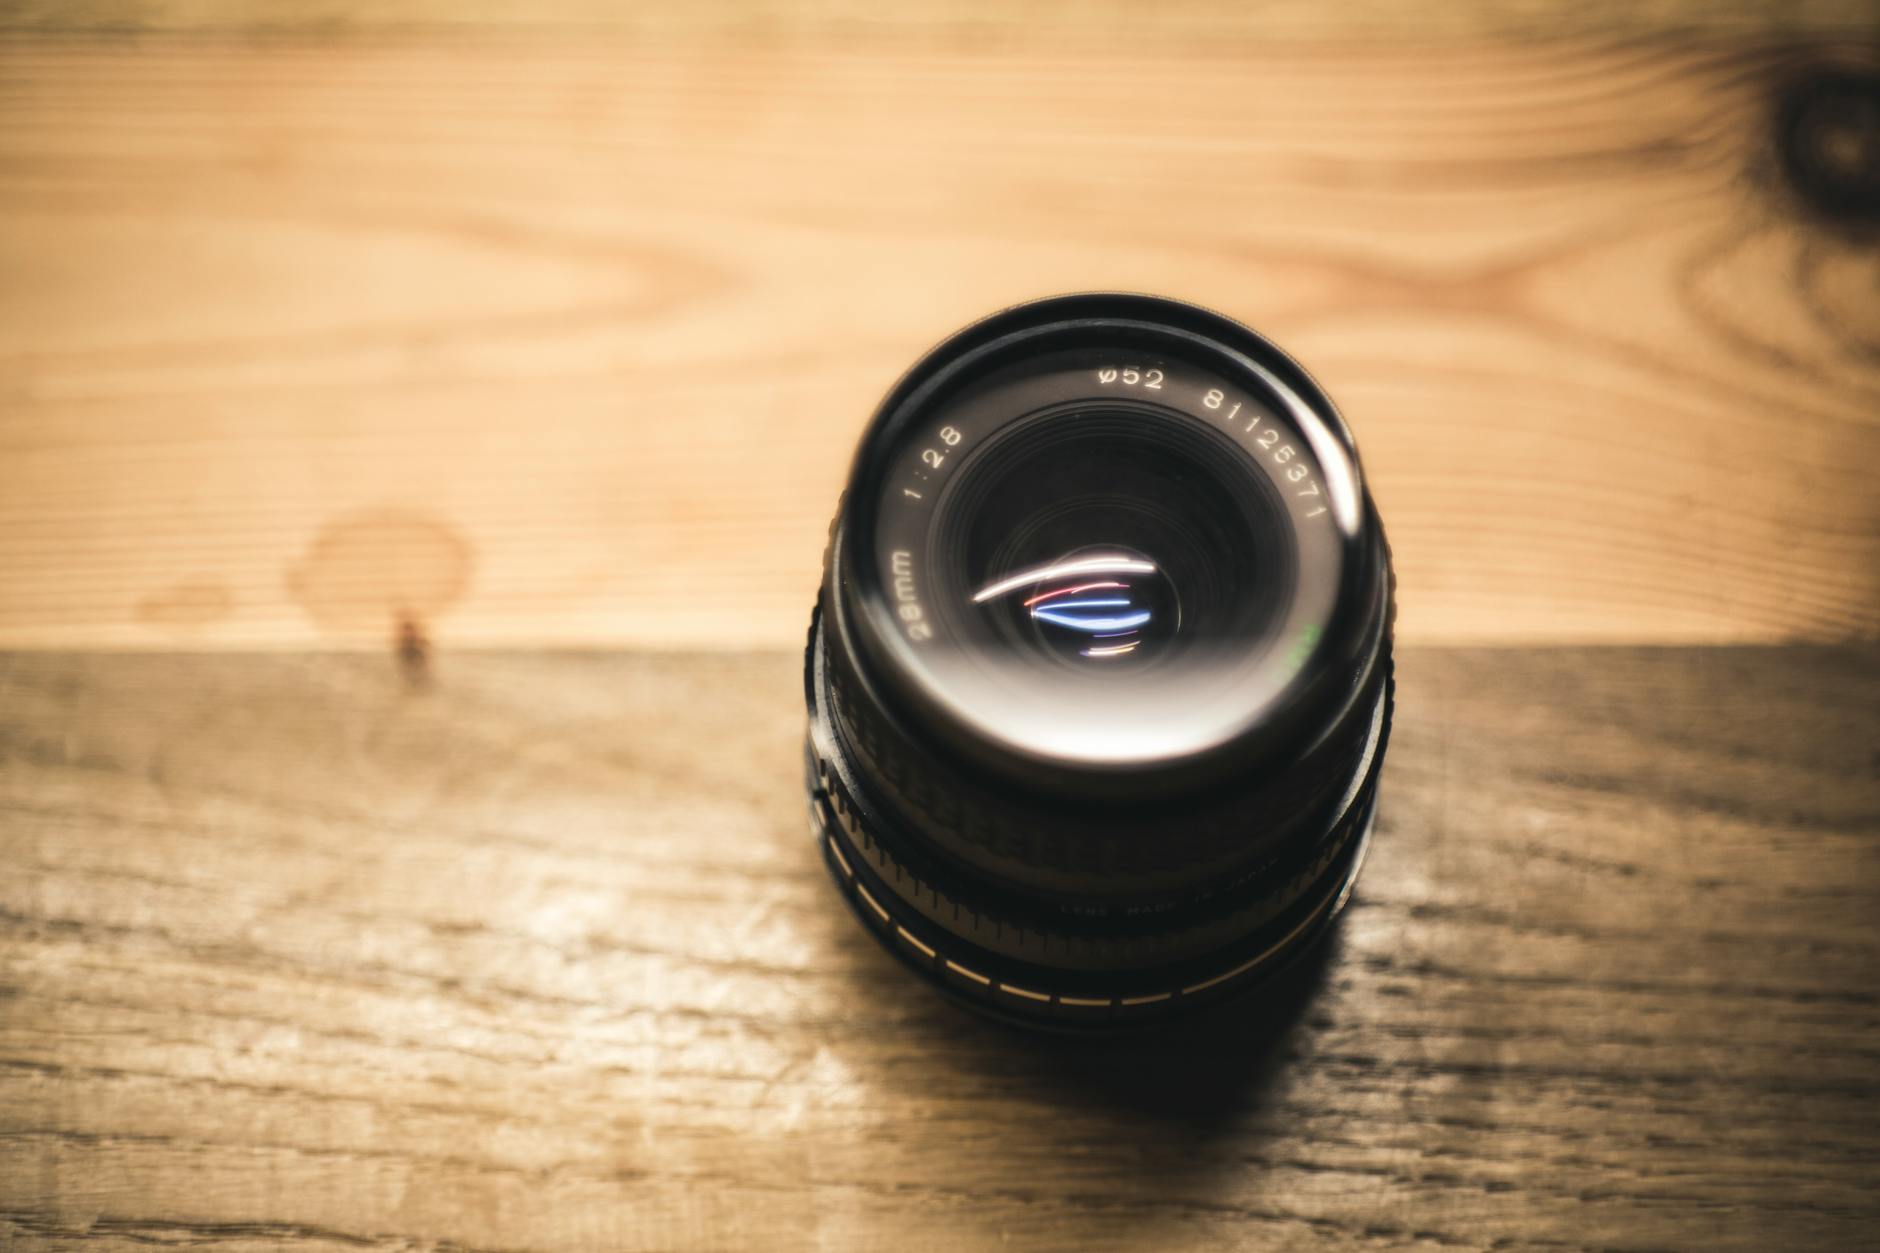
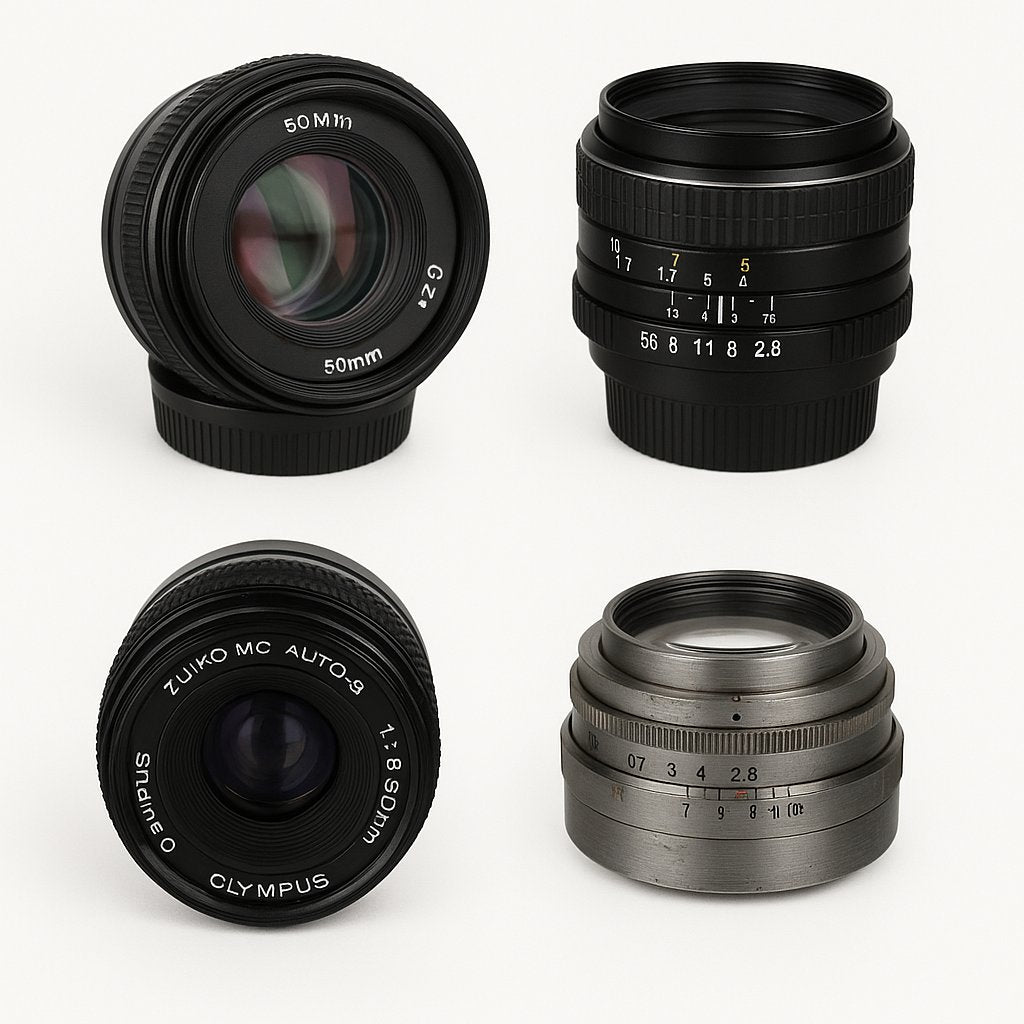
- ✅ Macro lens for close-up sharpness
- ✅ Steady tripod or copy stand
- ✅ Light table or uniform light source
- ✅ Negative holder or digitizing kit to keep film flat
You can explore our collection of DSLR cameras or find photography accessories for DIY digitizing to complete your setup.

Step-by-Step DSLR Setup for Digitizing Negatives
Here’s how to physically arrange your gear for optimal negative capture.
- Mount your DSLR on a sturdy tripod or copy stand facing downward.
- Position your light table or light source below the lens.
- Place your negative in the film holder directly over the illuminated surface.
- Align your camera sensor parallel to the film plane to avoid edge softness.
- Use live view and magnify focus to lock onto the film grain.
- Select an aperture between f/8 and f/11 to balance sharpness and depth.
I once wrestled with uneven focus across the frame. A tiny tilt correction on the copy stand made everything sharp edge to edge.

Best DSLR Settings for Clear and Accurate Results
This section details the essential in-camera controls to get clean, editable RAW files.
- ✅ Shoot in RAW to maximize editing flexibility
- ✅ Set ISO between 100–200 for minimal noise
- ✅ Aperture f/8–f/11 for sharpness and depth
- ✅ Manual white balance adjusted to the light source
- ✅ Check histogram after every few frames to catch exposure issues
Post-Processing Your DSLR Film Scans
This section explores how to bring your raw negative captures to life in software.
- Invert negatives into positives using photo software.
- Tweak tone curves for natural highlights and shadows.
- Use dust and scratch removal tools to clean the image.
- Batch process similar film stocks to save time.
Seeing that first inverted image appear on screen after shooting RAW was almost magical — film finally alive in digital form.
DSLR vs. Flatbed Scanning: Which Works Best?
This section compares the two main approaches to digitizing negatives, helping you decide what’s right for you.
While flatbeds are convenient, they lack the sharpness, speed, and control of DSLR scanning.
Pros
- Higher resolution with DSLR sensors
- Faster than flatbed scanning per roll
- Creative freedom in exposure and focus
Cons
- Learning curve for setup
- Requires stable gear
- Post-processing always needed
| Name | Best for | Spec | Look/Result | Latitude/Usability | Notes |
|---|---|---|---|---|---|
| DSLR Digitizing | High-resolution archiving | RAW, ISO 100 | Crisp, true film grain | Manual, flexible workflow | Fast and future-proof |
| Flatbed Scanner | Casual single scans | Fixed resolution | Softer, less contrasty | Simple, plug-and-play | Slower per roll |
Quick Decision
- Pick DSLR digitizing if you want ultimate sharpness and speed.
- Pick DSLR if you have many rolls to archive in 2025.
- Pick flatbed scanning if you only scan occasionally and prefer simplicity.
- Pick DSLR if experimenting with creative exposure is important to you.
FAQ
- What equipment is needed to digitize negatives with a DSLR in 2025?
- You’ll need a DSLR, macro lens, tripod or copy stand, a film holder or digitizing kit, and a consistent light source.
- How do you set up a DSLR to capture film negatives step by step?
- Mount on tripod copy stand, align parallel over light table, set aperture f/8–f/11, keep ISO low, and focus on grain.
- Which DSLR settings give sharp results when scanning negatives?
- Use manual mode, RAW format, ISO 100–200, f/8–f/11, and set manual white balance. Check histogram for accuracy.
- Is digitizing negatives with a DSLR better than flatbed scanning?
- Yes. DSLRs offer sharper detail, faster workflow, and creative control while flatbeds are slower and less detailed.
- Can I digitize both color and black-and-white negatives with a DSLR?
- Yes. Both work. For color, adjust white balance and curves carefully. For black-and-white, simply invert and tweak contrast.
Get Started
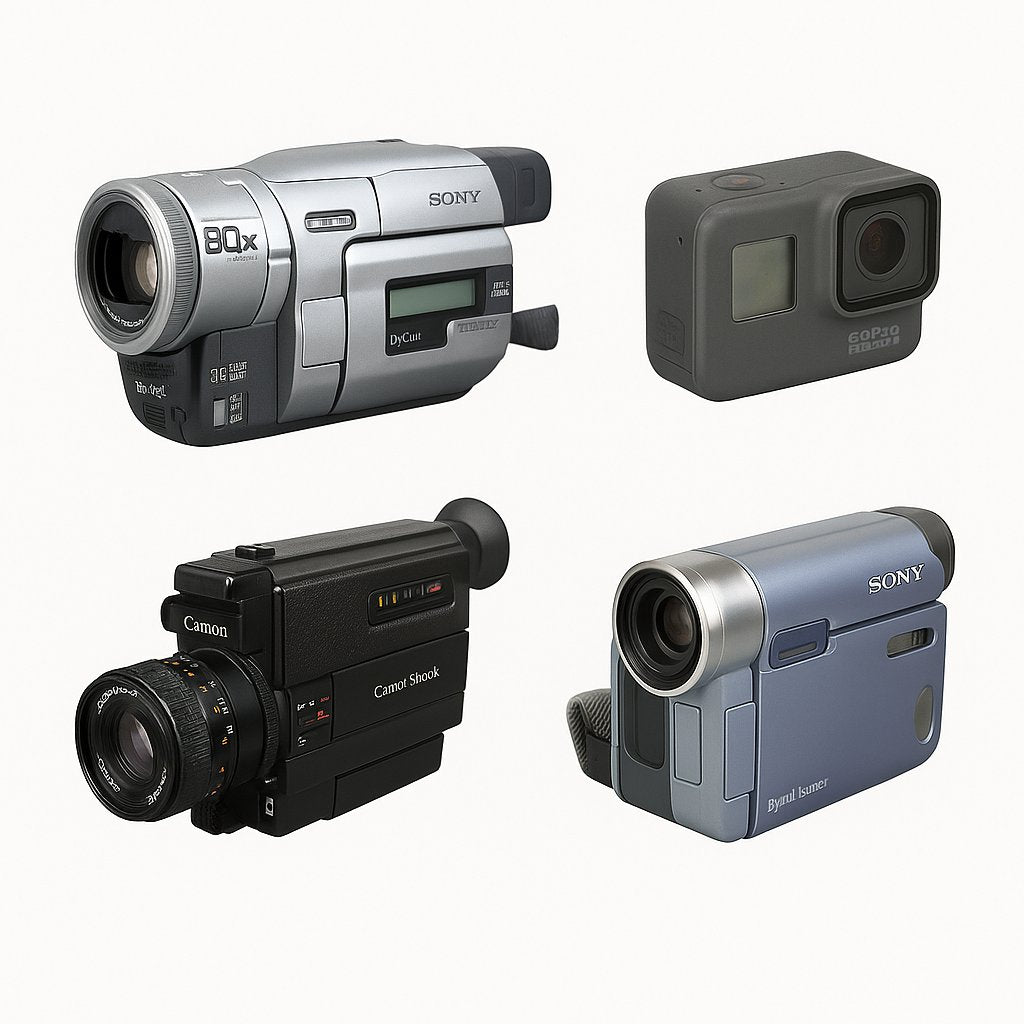
Ready to build your home digitizing station? Explore analog cameras and film gear or upgrade your kit with today’s DSLR options. Shop photography accessories to complete your home film scanning kit.


0 opmerkingen